How to Pre-Poo Curly Hair With Oil: How Much, How Long, and Where to Put It
Every pre-poo guide tells you to put oil on your hair before you wash it. Almost none of them tell you how much, how long, how far down from the root or which oils to choose. That’s why loads of us get it wrong and end up with flat, greasy roots and dry ends despite our efforts.
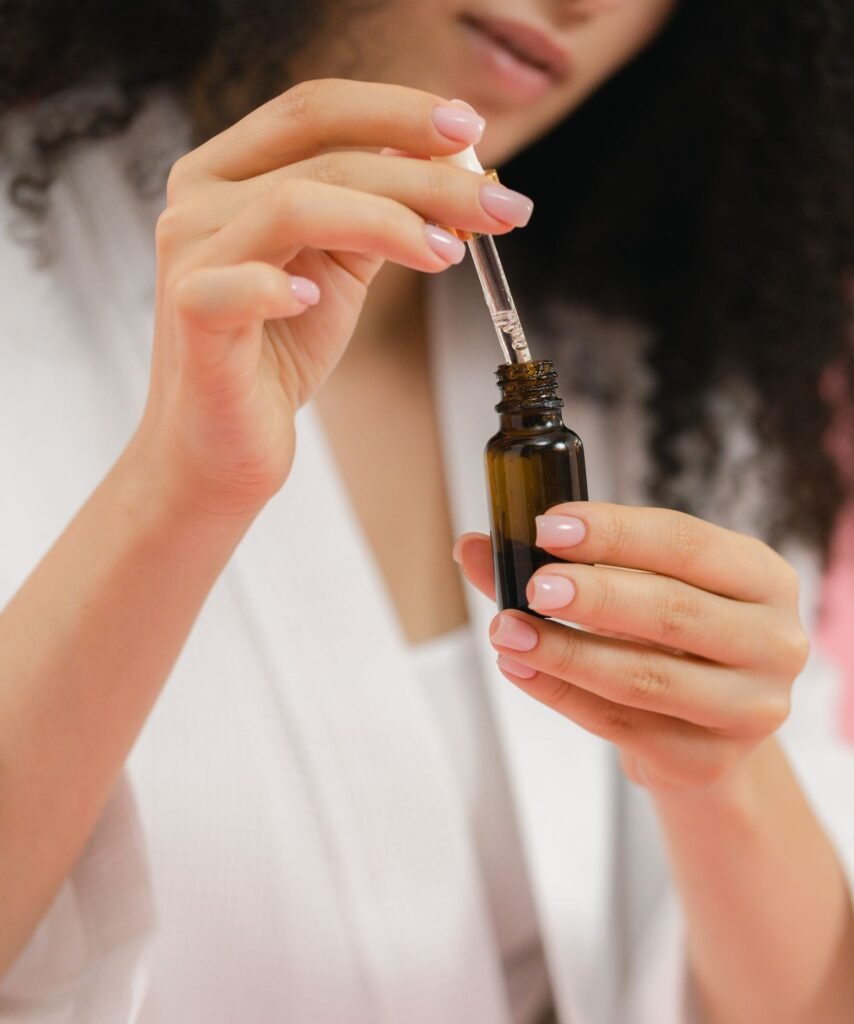
I ignored pre-poo for years. I’m one of those who didn’t have a clue about how to look after their curly hair. I would rush to wash it, condition it occasionally, then dry it with a diffuser. It was alright when I was younger, but then suddenly my hair got ugly: it looked dull, flat, my curls almost died and on top of all this, my hair was falling out a lot! That was the moment when I realised something had to change. I started to apply the oils before every wash and wow, my hair just transformed. The shine came back, it finally had volume and the most importantly, my curls were back! I now understand the importance of pre-poo for curly hair and this post is a little practical guide for you on what pre-poo does, how to do it, what mistakes to avoid and other tips. Let’s go!
What a Pre-Poo is Actually For
A pre-poo is not a treatment. It’s a shield. Curly hair swells when it gets wet. Water pushes into the cortex, the fibre expands, and when it dries it contracts again. One cycle is harmless. Hundreds of cycles over a long time progressively weaken the internal structure. It’s called hygral fatigue and it shows up as gummy, over-elastic strands when the hair is wet. Strands can snap mid-length and curls feel mushy rather than springy.
A pre-poo uses an oil to slow the rate at which water floods into the fibre during your wash. Less swelling, less contraction, less internal stress. Certain oils also reduce the protein your hair loses in the wash itself. That’s the whole job.
One important thing to understand: a pre-poo doesn’t replace conditioner. Conditioning happens after cleansing, on damp hair and with products that contain water. Pre-poo happens before washing, on hair that’s dry and the only product is an oil. Different jobs, different chemistry, no overlap.
How to Choose the Right Oil for Pre-Pooing Curly Hair
When it comes to choosing the right oil for pre-pooing, your hair porosity should be your starting point. Porosity describes how readily hair takes in and releases water and product.
Low-porosity hair often resists water and product at first. It may be easily weighed down, take a long time to become fully wet and develop buildup quickly. Start with a light, fast-spreading oil and a short treatment.
High-porosity hair often absorbs water and product quickly but loses moisture just as quickly. It may benefit from a richer blend that combines some penetrating oil with a heavier surface-sealing oil.
| Hair behaviour | Oil strategy | Good starting options |
| Low porosity, fine, easily weighed down | Use a small dose and a 20-minute treatment; keep it off the scalp | Jojoba, grapeseed, argan, or a small amount of coconut oil |
| Medium porosity | Use a moderate dose and adjust by how clean and soft the hair feels afterwards | Jojoba, coconut, sweet almond, avocado or argan |
| High porosity, coarse, bleached, or very dry | Use a richer blend on the lengths; consider 30–45 minutes and seal the ends | Coconut, avocado, olive, jojoba, or a small amount of castor in a blend |
Coconut oil deserves a patch test on a small section. Although it has useful evidence for reducing protein loss before washing, some curls feel stiff, rough or coated after using it. If coconut oil makes your curls brittle-feeling, replace it with jojoba or avocado.
For additional oil ideas, browse Essential Oils for Low-Porosity Curly Hair and 5 Essential Oil Blends for High-Porosity Curly Hair. Remember that “essential oil” is not the same as “carrier oil”: essential oils are highly concentrated aromatic materials and should not be used neat on hair or skin. If you follow the Curly Girl Method, check this CGM-safe essential-oils list and follow each product’s dilution guidance.
One more factor to consider is whether you have fine or thin curls, regardless of your hair porosity. Weight is your enemy before absorption is. Use the low end of every quantity range, stick to the lightest carriers and skip castor entirely. My picks for you are in must-have carrier oils for thin curly hair.
Should You Apply Pre-Poo Oil to Dry or Damp Hair?
For most curly hair, apply oil to dry or almost-dry hair. Dry hair gives the oil direct contact with the cuticle and makes it easier to see where the product has actually landed. This is usually the best choice when your goal is a concentrated pre-wash barrier or when you are testing whether an oil penetrates your hair rather than sitting on the surface.
Damp hair can also work, but “damp” should mean lightly misted—not wet enough to drip. A small amount of water helps curls stretch and can reduce friction during sectioning and detangling. However, a water film can also prevent an oil from making consistent contact with the fibre, so a damp application may feel more like lubrication than absorption.
| Application surface | What changes | Best use |
| Dry hair | More concentrated contact; easier to control placement and quantity | Penetrating-oil test, short treatment, fragile or very tangled lengths |
| Lightly damp hair | Easier distribution and less dry manipulation; oil may remain more surface-level | Dense curls, gentle detangling, people who dislike applying oil to dry hair |
| Soaking-wet hair | Oil disperses unevenly and can be difficult to measure; hair is more fragile when saturated | Generally avoid for an oil-only pre-poo |
If you’re fine-haired or low porosity, always go dry. Damp application on fine hair leads to over-applying, because the oil disappears so fast that you keep adding more.
How Much Oil Should You Use
The biggest cause of weighed-down curls post-wash is over-application during the pre-poo phase. That’s why it’s important to measure your pre-poo oil instead of guessing. Here’s a little guidance for you.
| Hair length and density | Quantity |
|---|---|
| Above shoulder, fine | 5 ml |
| Shoulder to collarbone, medium | 10 ml |
| Below collarbone, medium to thick | 15 ml |
| Waist length or very dense | 20 ml |
How to tell you’ve used the right amount: your hair should look and feel damp, not wet. Run a section through your fingers — the oil should have absorbed into the hair, not pooled on your fingertips. If your fingers come away visibly slick, you’ve used too much.
Over-oiling has a real cost, and it’s a specific one. Too much oil means you need two shampoos to get it out, and the second shampoo undoes exactly the protection the pre-poo was meant to provide. You end up further behind than if you had skipped the step. This is the single most common reason people try pre-pooing, decide it made their hair feel worse, and never try again.
How Long Should You Leave Pre-Poo Oil on Curly Hair?
For most people, 20–30 minutes is enough. This gives the oil time to spread over the fibre and soften the feel of the strands without turning a simple wash-day step into an overnight buildup problem.
You can extend the treatment to 30–45 minutes if your hair is very dry or the oil is lightweight. There is usually no need to leave an oil treatment on overnight to get a better result. Longer contact time does not automatically mean deeper absorption, and the benefit depends on the oil, the hair fibre, the dose and how well the oil is removed.
Where to Apply Pre-Poo Oil
Start about 5 cm (two inches) down from your scalp and work to the ends. The mid-lengths and ends are the oldest hair on your head. A strand at collarbone length has been through roughly two years of washing, friction, weather and handling. That’s the hair that needs protecting. The few centimetres nearest your scalp are new, already coated in your own sebum and structurally in good shape.
Remember: scalp oiling is a different treatment. It has different goals such as improving blood circulation, easing flakiness and supporting the follicles. It requires different oils and a different frequency. If you’re interested in scalp health specifically, the treating your scalp like skin post covers that properly.
How Often Should You Pre-Poo?
High porosity, dry or colour-treated hair: every wash day is reasonable and you’ll notice if you skip it.
Low porosity hair: every second or third wash. More frequently than that and you’ll be fighting build-up, which means clarifying, which is harder on your hair than the pre-poo was helping.
Normal porosity: roughly once a fortnight, or ahead of any wash where you know you’ll be detangling heavily.
If you’re not sure whether it’s working, skip it for three wash days and pay attention to how much hair comes out during detangling. That comparison will tell you more than any product claim.
DIY Pre-Poo Oil Blends
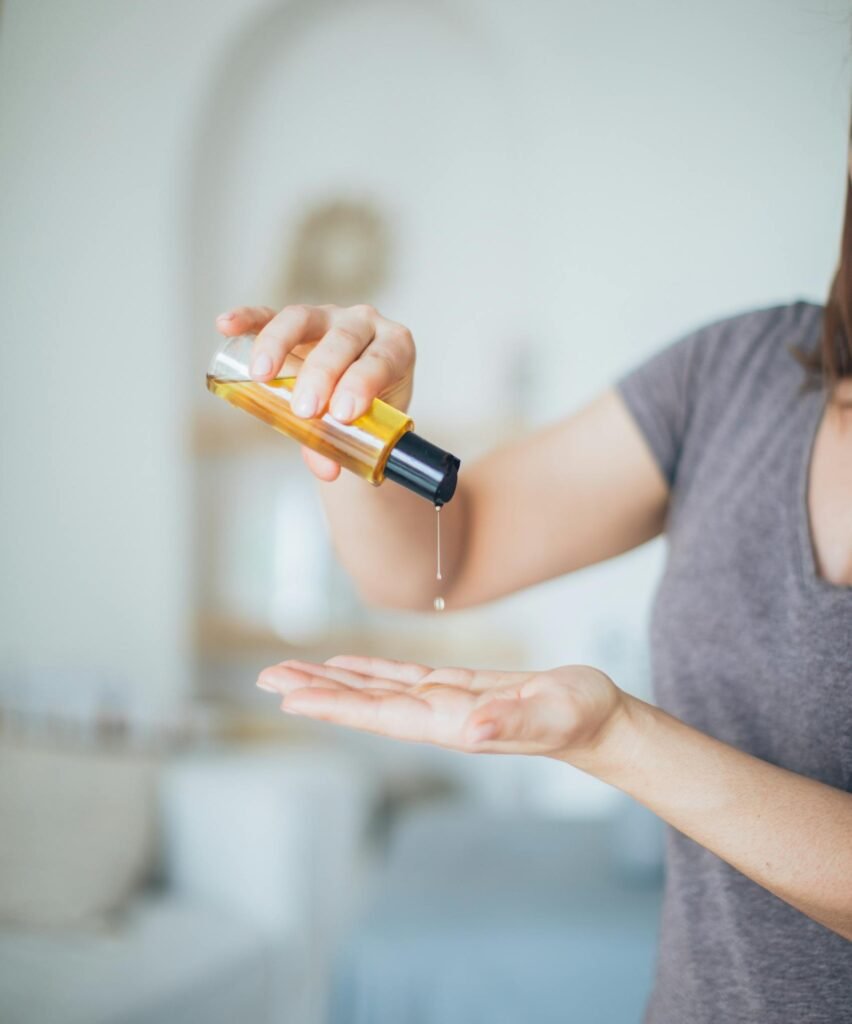
Make these blends fresh in a clean, small container. The measurements below are designed for one shoulder-length, medium-density application.
Lightweight Low Porosity Pre-Poo Blend
This blend is intended for hair that gets flat or greasy easily. It favours light oils and a short contact time.
| Ingredient | Amount |
| Jojoba oil | 4ml |
| Grapeseed oil | 2.5ml |
| Argan oil | 2.5ml |
| Avocado oil | 1ml |
| Total | 10ml |
How to use: Warm the mixture between your palms, apply it to dry mid-lengths and ends and leave it for 20 minutes. Shampoo once, focusing cleanser on the scalp and letting the strands rinse through the lengths. If your hair still feels oily, use a smaller dose next time rather than immediately shampooing twice.
Rich High-Porosity Pre-Poo Blend
This blend is designed for coarse, bleached, weathered or high-porosity curls that feel rough after cleansing. It combines a potentially penetrating oil with richer oils that help reduce the dry, rough feel of the surface.
| Ingredient | Amount |
| Coconut oil | 5ml |
| Avocado oil | 2.5ml |
| Jojoba oil | 2.5ml |
| Total | 10ml |
Apply mainly from the ears downward, pressing the blend into the last third of the hair. Leave it for 30–45 minutes, then cleanse thoroughly. If coconut oil makes the hair feel stiff or straw-like, replace it with olive oil or use avocado and jojoba alone.
Five Pre-Poo Mistakes to Avoid
Oiling the scalp when the problem is the mid-lengths
Your scalp produces its own oil. The hair at your roots is a few weeks old and structurally intact. The hair that’s been through hundreds of wash cycles, brushes, ponytails and UV exposure is at your mid-lengths and ends. And that’s where the oil goes. Applying oil to your scalp as well as the lengths results in disappointment.
Using too much
More oil doesn’t mean more protection; the fibre can only take up so much. What it does mean is a second, harsher cleanse to remove the excess, which strips more lipid than the pre-poo saved.
Using oil as a substitute for conditioner
Oil does not supply the same water, cationic conditioning agents or detangling support as a rinse-out conditioner. Pre-poo first, cleanse, and condition afterwards if your routine needs it.
Choosing an oil that only sits on the surface
Oils that don’t penetrate the fibre are still useful because they help to reduce friction and add shine. But they won’t do much about swelling during washing. If breakage is your issue, your blend needs a penetrating component.
Rinsing before you emulsify
Water hits oil, oil beads up, you panic and shampoo three times. Apply your cleanser to the oiled hair before you get in the shower stream, work it through until it turns milky, then add water.
Final Thoughts
Pre-poo is an important part of a curly hair routine. Once you figure out how to choose the right oil for your hair, where to apply it for better results and what application time works for you, it becomes an easy, straightforward pre-wash routine. I’ve seen for myself how beneficial it is for my curls and I invite you to do the same. Don’t be scared of oils, they’re certainly your friends.
What is your own experience with pre-poo? Is it something you do all the time or have never tried? Leave your comment down below, I’d love to hear from you.
Disclaimer: This post contains affiliate links. If you purchase through these links, I may earn a small commission at no extra cost to you — it helps me keep creating free content. I only ever recommend products I personally use and trust. This information is for educational purposes only and is not intended to diagnose, treat, cure, or prevent any disease. Always patch test new ingredients, and consult with a healthcare provider if you have specific skin conditions or concerns. If you’re pregnant, nursing, or on medication, check with your doctor before using essential oils.